 Dr. Stefan A. Voser
The Rasperry Pi High Quality Camera
The Rasperry Pi High Quality (HQ) Camera is a camera modul for interchangeable lenses. The sensor Sony IMX477 has a resolution of 12.3 MB and allows lenses with C and CS-Mount. It also has a 1/4”-20 tripod mount.
The camera just can be used for viewing, but also for taking still images, videos & timelapses.
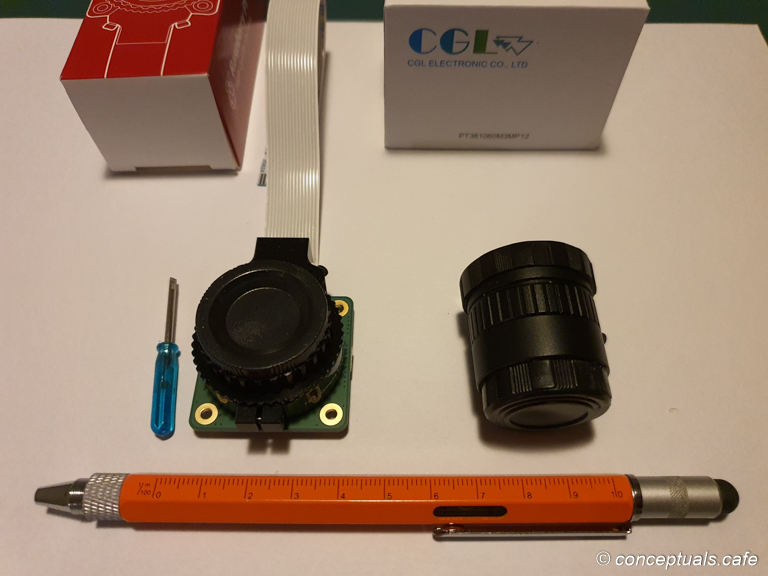
Unboxed Rasperry Pi HQ Camera & 6mm Lense
The Equipment
Hardware
- Raspberry Pi 3B+
- Raspberry Pi Power Supply
- MicroSD
- USB Keyboard & Mouse
- a Display, connected with HDMI cable
- Raspberry Pi HQ Camera
- Raspberry Pi HQ Camera Lens 6mm (Wide Angle)
- Camera Tripod Equipment for Tripod mount: 1/4”-20
- a Desktop Computer for headless controlling Raspberry Pi
- a local network with Lan/Wlan
Software
- Raspberry Pi Imager (Setting Up Raspberry Pi OS on MicroSD Card)
- Raspberry Pi OS (32-Bit), (Debian Bullseye)
- a SSH Console on the Desktop Computer
- RealVNC for headless use of Raspberry Pi (preinstalled on raspberry (server & viewer), viewer needed on desktop computer
- libcamera library; part of Raspberry Pi OS Bullseye
The Setting Up
The Operating System
Thr Raspberry Pi comuting modul 3B+ is already in use with an older version of raspberry OS. So I decide to setup a new MicroSD.
Setting up the Raspberry Pi is documented at https://www.raspberrypi.com/documentation/computers/getting-started.html.
Downloading and installing the newest Operating System (OS) om a MicroSD-Card nowadays can be done easily with your desktop computer using Raspberry Pi Imager. it can be downloaded at https://www.raspberrypi.com/software/.
With imager, you choose the OS, download it, format the MiscroSD and install the OS on it.
Tip
- with “control shift x” on Raspberry Pi Imager, you can set few options like enabling SSH and setting the Wifi and choosing the language
I installed Raspberry PI OS (32-bit) Desktop, 30.10.2021, 1.1 GB (Debian Bullseye).
The installing the OS takes a while.
The first Start Up of Rasperry Pi
Insert the MicroSD-Card, connect the Display via HDMI Cable, connect Keyboard and Mouse, and then startup the Rasperry by connecting the Power Supply.
The initial starting takes time (in my case about 15 Min.).
Basic Configurations
Upon your Requirements. I want to use the Raspberry Pi also headless (without connected display, controlles remotely, so I need:
- WLAN on the Rasperry to connect to my local Network
- SSH (Secure Shell) to controll the Raspberry Pi remotely by command line
- VNC (Virtual Network Computing) for a remotely graphical controll
My basic setup steps are:
- language & keyboard & mouse settings
- setting up wlan
https://www.raspberrypi.com/documentation/computers/configuration.html#configuring-networking - Enabling Remote Access to Raspberry Pi
https://www.raspberrypi.com/documentation/computers/remote-access.html - enable SSH on Raspi, using Termius Console on Desktop
- enable VNC for headless use of Raspberry Pi (preinstalled on raspberry (server & viewer), viewer needed on desktop computer
- download & install updates
How to Configure
There are 3 ways to setup some of the required features.
A) As already mentionned, some configurations already can be done during the setup with the Raspberry Imager ( e.g. language, wlan, enable SSH). * visible wlans, see remark to hidden Wlan below.
B) command line based, using the configuration tool via teminal or via SSH, using “sudo raspi-config”.
https://www.raspberrypi.com/documentation/computers/configuration.html
- Using a terminal https://projects.raspberrypi.org/en/projects/raspberry-pi-using/8
- Using SSH …
C) using the graphical Raspberry Configuration Tool, in the graphical desktop of Raspberry Pi, go to Menu > Preferences > Raspberry Pi Configuration.
External Links Raspberry Pi Setup
- Raspberry Pi Hardware and Components
- Raspberry Pi 3 Model B+
- Getting Started - Setting up your Raspberry Pi
- Raspberry Pi OS
- Configuring Networking on Raspberry Pi
- Remote Access to Raspberry Pi
- Using the Raspberry Pi Terminal
- Configuration Tool "raspi-config" of Raspberry Pi, command-line based
Installing the Camera Module
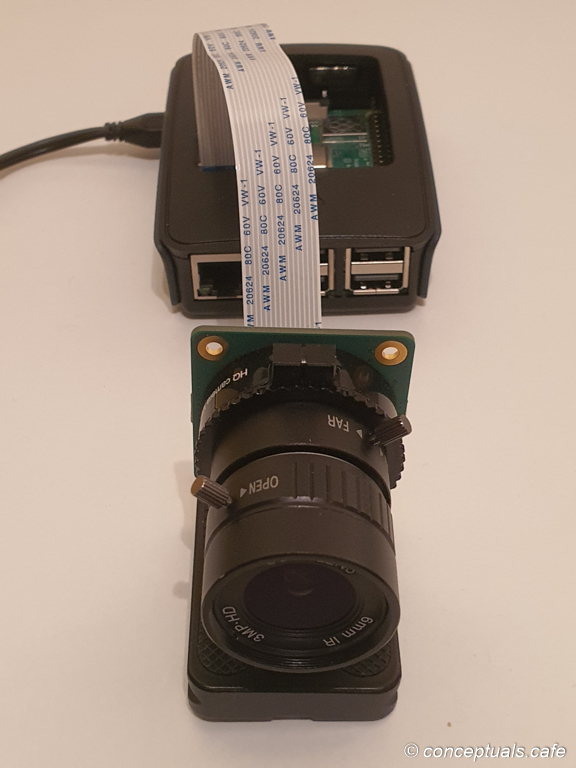
Rasperry Pi HQ Camera & 6mm Lense on Raspberry Pi 3B+
Connecting Camera with Raspberry Pi
– to be continued soon –
First Testing
– to be continued soon –
External Links Raspberry Pi HQ Camera
- The Raspberry Pi HQ Camera Module
- The Raspberry Pi 6mm Wide Angle Lens
- The Raspberry Pi Camera Documentation
last update: 6.12.2021
first published: 4.12.2021
The Raspberry Pi HQ Camera Project
more Raspberry Pi

Add a Comment